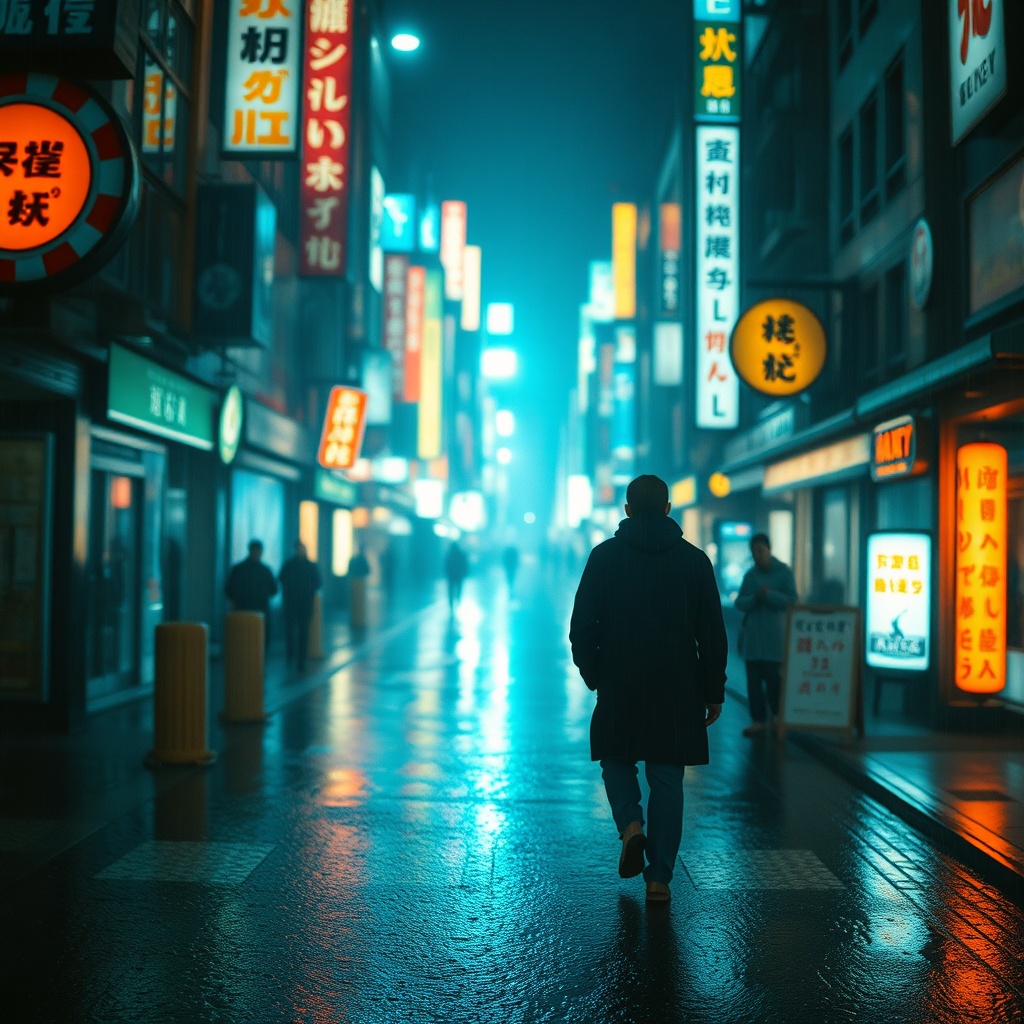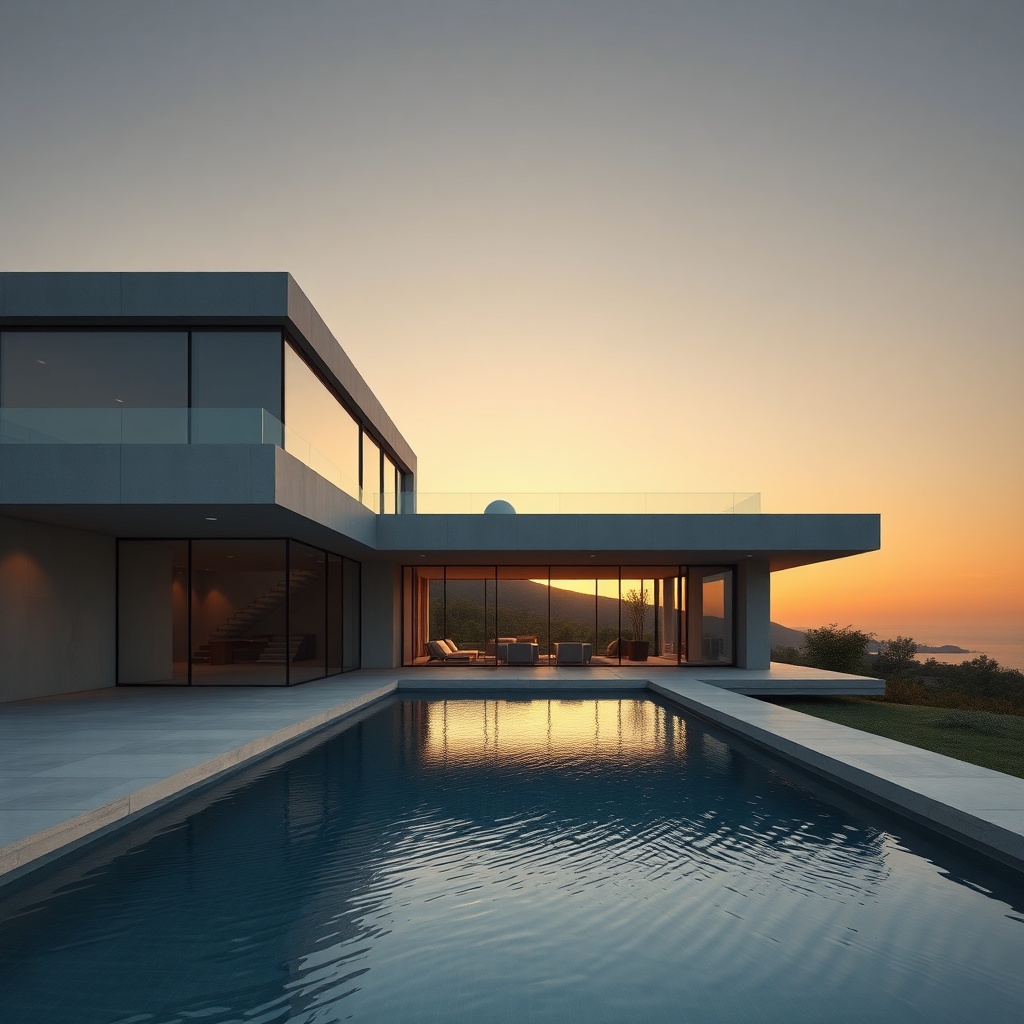
A storyboard is a decision tool. It exists to make a sequence understandable before production becomes expensive. Beautiful frames can help people engage with a pitch, but beauty is not the primary acceptance test. A rough drawing that clearly shows screen direction, action, and camera size is more useful than a polished image that contradicts the next shot.
AI image generation can speed up visual exploration, especially for atmosphere, locations, and alternate camera positions. It can also tempt a team to approve individual images without checking continuity. This workflow keeps the sequence in charge.
Begin with beats, not prompts
Reduce the script or concept to story beats. Each beat should describe a change: someone discovers information, enters a space, makes a choice, reveals an object, or causes a new problem. If nothing changes, ask why the shot exists.
For a short product video, beats might be:
- A cluttered desk establishes the problem.
- The user notices the compact scanner.
- A document passes through it.
- The digital file appears on the laptop.
- The clean desk and archived box show the result.
This list contains no visual style. It defines the communication job. Style can change without losing the story; missing a beat cannot be repaired by more cinematic light.
Turn beats into a shot table
Create one row per proposed shot:
| # | Beat | Shot size | Camera | Action | Continuity | Audio/time |
|---|---|---|---|---|---|---|
| 01 | establish clutter | wide | locked, eye level | user searches papers | mug screen left | 2 sec, room tone |
| 02 | reveal scanner | close | slight push in | hand clears papers | hand enters right | 1 sec, music lift |
| 03 | show use | medium insert | overhead | page feeds through | scanner orientation fixed | 2 sec, motor sound |
The continuity column is critical. Record screen direction, hand, prop position, costume, time of day, and any detail that must carry into another frame.
Estimate duration early. A sequence of twelve beautiful setups may be impossible inside a fifteen-second spot. Timing also reveals whether a shot needs movement or can be a still insert.
Establish a visual bible
Before generating the whole board, approve:
- character or product references;
- location layout;
- palette and time of day;
- aspect ratio;
- lens and camera vocabulary;
- rendering treatment;
- continuity rules.
For recurring people or illustrated characters, build a character reference sheet. For a branded campaign, use a short reference-image consistency block. Those documents prevent each storyboard panel from redesigning the world.
Keep the storyboard treatment simpler than final art. Excess detail slows revision and can imply production commitments that have not been approved. Consistent line, value, and color grouping matter more than polished surfaces.
Write prompts around shot purpose
Each prompt should begin with the continuity anchors, then describe the shot:
Same compact home office, same person in a rust overshirt, same black scanner facing left. Medium overhead insert of the right hand guiding one receipt into the scanner while the left hand holds the remaining stack. Scanner in lower center, laptop at top edge, clear action silhouette, neutral storyboard illustration, 16:9.
Include only details visible in that shot. A close-up of a hand does not need a paragraph about the character's face. Excess instructions introduce conflicts and waste review time.
Use the structured prompt method to keep subject, action, composition, and light separate. In storyboards, action and camera generally outrank texture.
Protect screen direction
When a character moves from left to right in one shot, an immediate cut showing the same movement right to left can feel like a reversal unless the camera crosses the action axis deliberately. Storyboard tools and image generators do not automatically understand the sequence's screen geography.
Draw a simple overhead map of the location:
- character positions;
- direction of movement;
- line of action;
- camera positions;
- important entrances and exits.
Label each generated frame with the camera number. If a frame mirrors the set or swaps hands, correct it before the next panel uses it as a reference.
For conversations, maintain eyelines. If one person looks camera right, the reverse should normally place the other looking camera left. Check that the background also supports the intended orientation.
Separate panels from annotations
Generate the image, then add production information in a layout tool:
- shot number;
- action arrows;
- camera move arrows;
- dialogue or narration;
- duration;
- transition;
- sound cue;
- continuity note.
Do not depend on generated text for shot labels. Exact annotations must remain editable and searchable. The text-in-AI-images workflow explains why communication copy and in-scene lettering need different treatment.
Use arrows sparingly and define their meaning. A curved arrow might indicate a camera orbit or an actor turn; a legend removes ambiguity.
Review the sequence in three passes
Silent story pass
Hide captions and read only the images. Can a new viewer identify who acts, where attention moves, and what changes? If a key beat depends entirely on a note, revise the framing or action.
Continuity pass
Compare adjacent frames for costume, props, handedness, geography, light, weather, and direction. Create a punch list rather than relying on memory.
Production pass
Ask whether the camera placement, set, props, effects, and transitions are feasible. A generated frame may place a camera through a wall or require a location much larger than the chosen set. Mark aspirational frames clearly.
Then play the panels as an animatic at approximate duration. Timing exposes repetition and missing transitions that a contact sheet hides.
Version by sequence, not by favorite image
Name boards by sequence and revision: launch-film-seq02-board-v04.pdf.
Keep rejected explorations outside the approved board. When one shot changes,
check the shots before and after it; a new camera angle can break screen
direction or make an existing insert redundant.
Record the prompt and references for each approved panel. If a character or set changes globally, regenerate from the canonical reference rather than from an already drifted panel.
Use the right fidelity at each stage
Choose the cheapest representation that answers the current question:
- text beat list for story logic;
- thumbnails for coverage and order;
- generated panels for mood, location, and stakeholder alignment;
- animatic for timing;
- previs or 3D blocking for complex camera and spatial problems;
- final production assets only after decisions stabilize.
AI generation is one layer in that ladder. It should not skip the reasoning that makes a storyboard useful.
Create initial frame options with BananaLite, but assemble, label, time, and approve the sequence in a dedicated board or editing tool. The artifact handed to production should communicate decisions, not merely display prompts that worked.
Sources and further reading
- BBC Academy: shooting and editing sequences — practical sequence coverage concepts.
- Library of Congress moving-image resources — preservation context for production records and audiovisual material.
- W3C captions guidance — useful when planning dialogue, narration, and accessible delivery early.
The strongest storyboard makes the next decision cheaper. If the sequence is clear, consistent, timed, and feasible, the frames have done their job—even if none of them belongs on a gallery wall.